
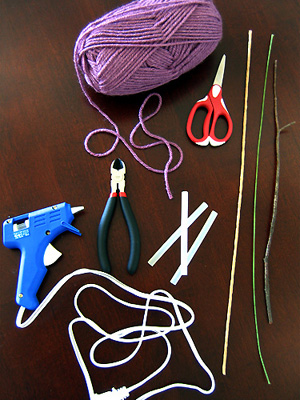
What you’ll need for the project:
yarn
small, sharp scissors
wire cutters
a hot glue gun and glue sticks
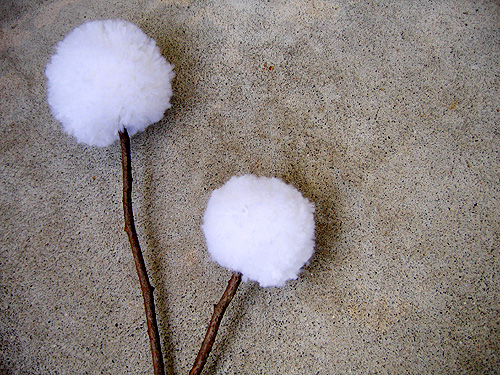
materials for the stems (paper or fabric covered floral wire or my favorite, branches or twigs)
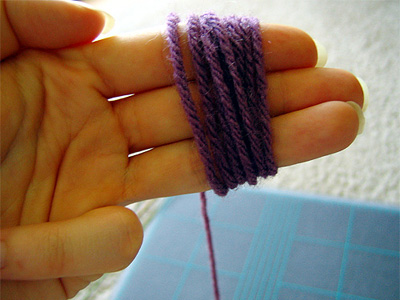
Using your thumb, hold the end of the yarn against your fingers as you begin to wrap the yarn. After a few wraparounds, you should be able to let the end go and continue wrapping. I size my pom poms by fingers: 2 is small, 3 is medium, and 4 is large. Don’t wrap the yarn too tightly, or you’ll have blue fingers and won’t be able to slip the yarn off easily later!
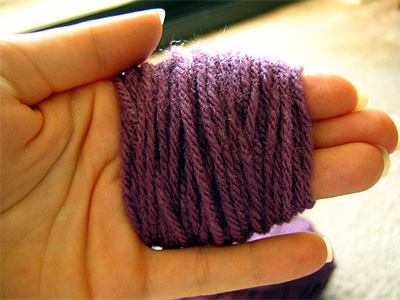
The more times you wrap the yarn, the fuller your pom pom will be. However, try not to overdo it, or you may have trouble in the later stages because there’s too much bulk. For small pom poms, I wrap between 50-75 times; for medium, 75-100; for large, 100-125. Yarns come in many different thicknesses, so you may find that you need more or less wraps to achieve the fullness that you’d like.
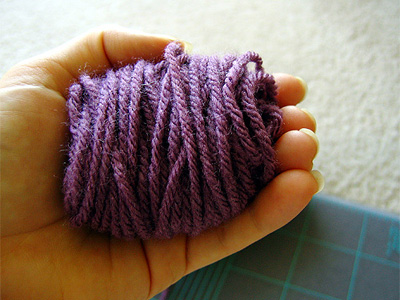
After you’ve finished wrapping the yarn, carefully slide it off of your fingers.

Cut a piece of yarn that is between 4 and 6 inches long to use as a tie. Place the wrapped yarn on top of the cut piece, trying to center it as much as possible.
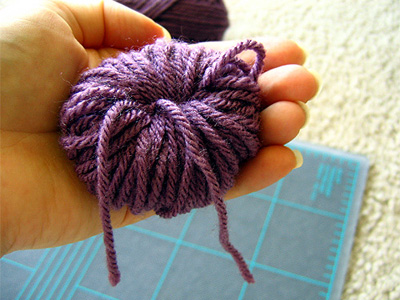
Pull the cut yarn as tightly as you can over the wrapped yarn, and tie a knot.

Using a small pair of sharp scissors, cut the top of the yarn loops th entire way around.
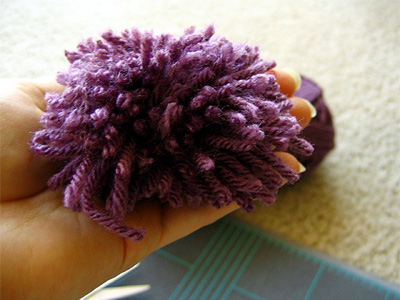
After you cut all of the loops, you’ll be left with a shaggy looking pom pom.
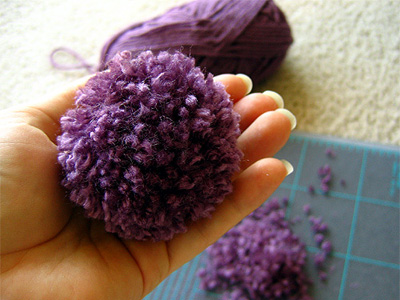
Using your scissors, trim off the longer pieces of yarn until you’re satisfied with the appearance of the pom pom. Fuzzy!
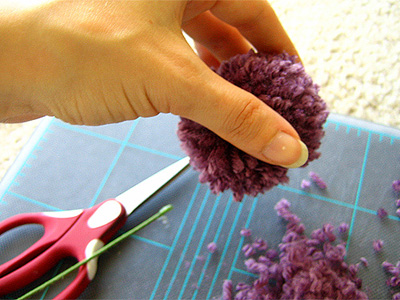
Fire up your glue gun, and find a place on the pom pom where the yarn looks a tad sparse or where things are a bit flat or uneven. Basically, you’re looking for a good place to glue the stem. Part the yarn to expose the more dense area of the pom pom. This will make a sturdy anchor for your stem. Apply a small amount of hot glue to your choice of stem, and press into the exposed anchor area.
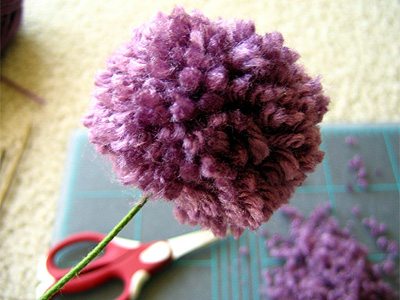
Ta da! You’ve got a pom pom flower.
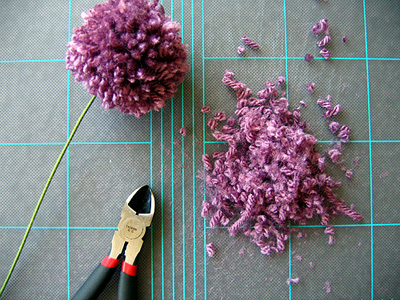
Use wire cutters to trim the stem to the desired length, and have fun figuring out where you’re going to put your flower!

No comments:
Post a Comment