
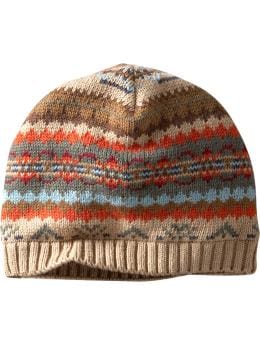
"Studio 5 Contributor, Liberti van Gass has the easy instructions for this boutique-y find.
Gather up any old sweaters around your house and you are ready for this fun project! Any sweater will do, just keep in mind that some will stretch more than others and if you're looking for warmth, a heavier sweater will be better.
Measure your head (or the head of the person you are making for) and cut two squares from your sweater-keep in mind that the sweater will stretch. I used a 9"X 9" square for mine and my head circumference is about 23". Also note that if you use the bottom edge of your sweater for the brim of your hat then you won't have to do any extra finishing, it's already done for you!
Lay your two squares, wrong sides together, cut off the corners of the top so that the top of the hat is rounded and either sew a ¼" seam or you can surge the two pieces together. Try not to stretch as you sew.
For the flower:
Cut 4-5 circles at various sizes. I used templates from around my house such as lids, Tupperware, jars etc. - you can use anything round, make your circles as big or small as you choose. Don't worry about the circles being perfect because you'll be sewing around them.
Zig zag or surge around each circle, stretching the circle as you go. This produces the "ruffle" effect.
Once you've completed the circles you need to determine where you want the flower to be on your beanie. When you decide where you want the flower, hand sew a few stitches into each layer attaching one at a time on top of the other - this holds it into place and keeps it from flapping.
You can finish it off with a small circle or if you choose add some embellishments as the center of the flower!
You've made it! Now you have a darling beanie to keep you warm!"
No comments:
Post a Comment